How-To: The Easiest Chain Stitch for Hand Embroidery
by Jenny Hart 01/12/2013


Step 3: Pull your floss all the way through.

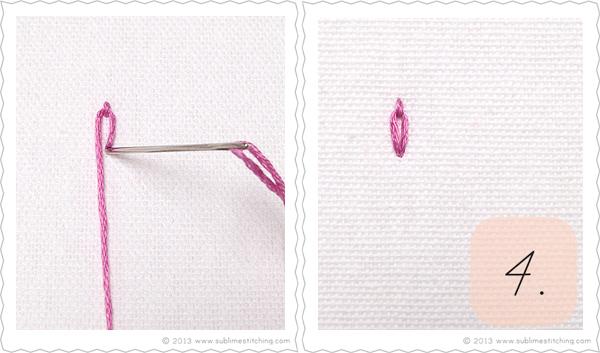
Step 4: Re-insert your needle into the same hole that your floss exited (left photo). Pull all the way through (right photo).
(All by itself, this is called an "isolated chain stitch".) What next?

Step 5: Repeat! Pass needle through the last loop, pull the floss all the way through, re-enter your needle, pull all the way through...and make chain stitches all day long:
Sublime Floss colors: Flowerbox
HOLD IT! Did you notice these are upside down? That's right. All we're doing is working the chain stitches in reverse. You start off with what would normally be your last stitch: the final one to tack down the last loop. Of course, you can work them in any direction according to how you want them to appear on your pattern (just turn your hoop, silly).
I will never do the wrap-around-the-tip-of-your-needle-sewing-technique-push-and-pray way again. You can't make me.
Learn more embroidery stitches here!
Text, photos, diagrams and instructions by Jenny Hart ♥
© 2002 - 2019 Sublime Stitching ®. All Rights Reserved.


